
Introduction
Want to learn how to draw a pumpkin without overthinking it? 🎃 Whether you’re sketching for fall décor, a school project, or just for fun, this step-by-step guide will show you exactly how to do it. We’ll break it down into simple shapes so even beginners can follow along. By the end, you’ll have a cute pumpkin you can shade, color, or even turn into a jack-o’-lantern design!
Let’s grab a pencil and get started.
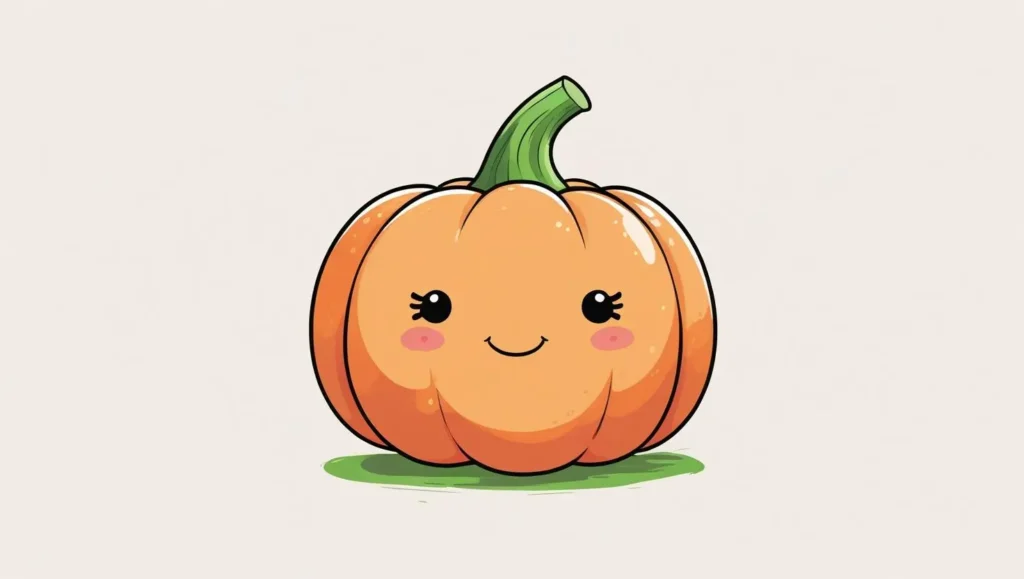
Want to learn how to draw a pumpkin? 🎃 First, watch this quick video tutorial, and then scroll down to see the detailed step-by-step instructions with pictures.
Materials You’ll Need
- Paper or sketchbook
- Pencil & eraser
- Black fineliner (optional, for outlines)
- Colored pencils or markers (optional, for finishing)
Step 1: Start With a Simple Shape
Begin by sketching a light oval or circle in the center of your page. This will be the main body of your pumpkin. Don’t worry about perfection—pumpkins are naturally lumpy and uneven, which makes them more fun to draw.
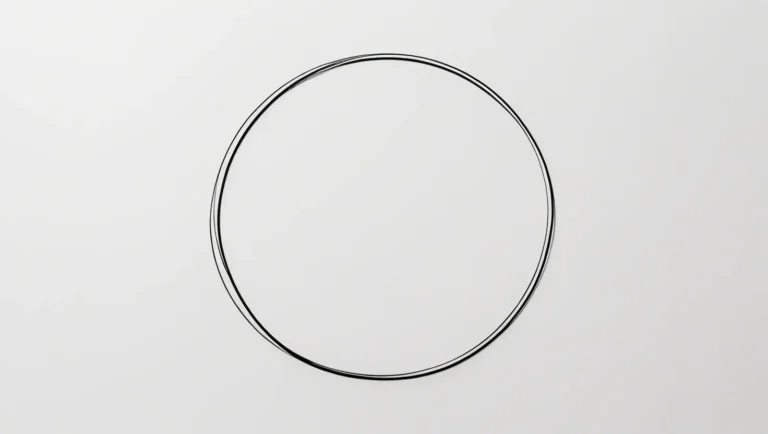
Step 2: Add the Pumpkin Sections
Now, divide your pumpkin into vertical curves. Draw curved lines from top to bottom that slightly bend outward, like soft ribs. This creates that round, bumpy pumpkin look. This is the heart of drawing a pumpkin step by step—keep your lines soft and flowing, not straight.
Step 3: Sketch the Stem
At the top, add a small rectangle or cylinder for the stem. Tilt it a little to one side to make your pumpkin look more natural. Add a few curved lines down the stem for texture.

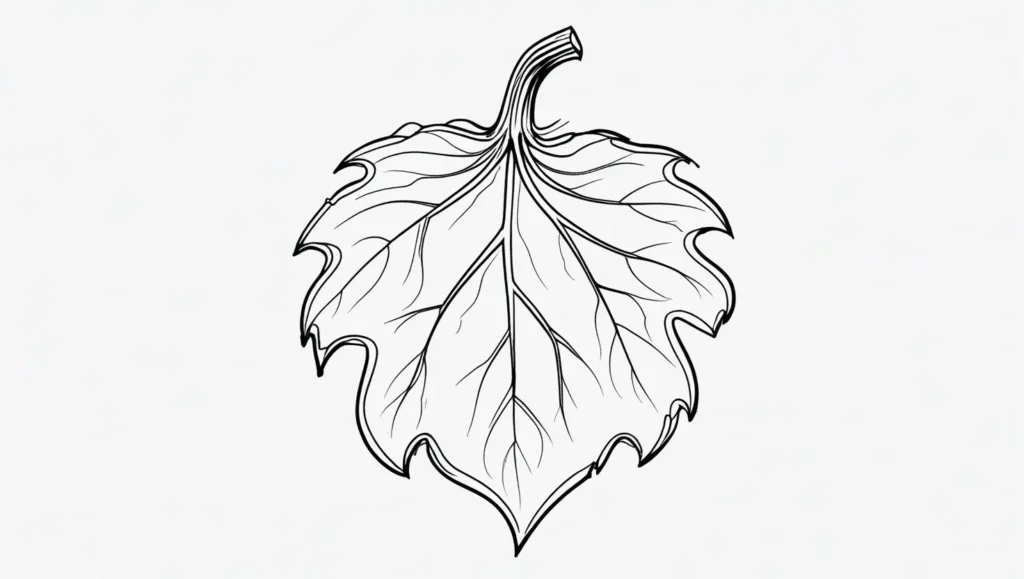
Step 4: Add Leaves and Vines
Pumpkin leaves are big and slightly jagged. To make them easy:
- Draw a large teardrop shape.
- Add a wavy edge.
- Sketch veins in the center.
For vines, curl a few thin spirals around the base.
Step 5: Shade Your Pumpkin
To give your pumpkin depth, pick a light source (say, top left). Shade the opposite grooves a little darker. You can use light cross-hatching or soft pencil shading. The darkest shadows should be in the curves between each section.
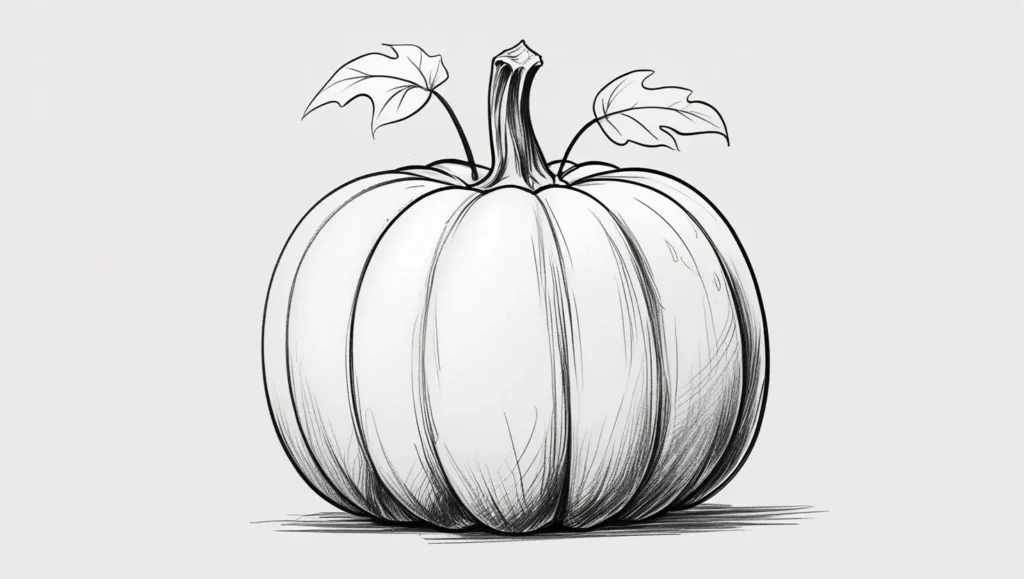
Optional: Add Color
If you want to finish with color, grab orange and green pencils or markers. Layer a darker orange into the grooves and a lighter orange on the round areas. Shade the stem with green or brown.
👉 Want to paint a real pumpkin? Try my tutorial on How to Paint Pumpkin: Easy DIY Ideas for Stunning Fall Décor for a colorful project.
Common Mistakes to Avoid
- Straight section lines → make them curved.
- Tiny stem → give it more thickness for balance.
- No overlap → pumpkins look best when some sections overlap naturally.
FAQ
How do you draw a pumpkin easy?
Start with a simple oval, divide it into curved sections, add a stem, and you’re done!
How to draw a pumpkin step by step for kids?
Keep the shapes simple—just a circle, some curves, and a little stem. Kids can color it orange afterward.
How do you draw pumpkin leaves and vines?
Use a teardrop shape with a jagged edge for leaves and spiral lines for vines.
Can I draw a whole pumpkin patch?
Yes! Start with one pumpkin, then add smaller ones in the background. Vary the sizes to make it look natural.
What’s the best pencil for beginners?
A regular HB pencil works great. If you want softer shading, try a 2B pencil.
Wrap Up
And that’s it! You’ve just learned how to draw a pumpkin in five simple steps. With a few shapes, some curves, and a little shading, your pumpkin sketch is ready to shine.