

🍂 Why Pumpkin Face Drawing is So Much Fun
Pumpkins are the ultimate symbol of fall and Halloween. But let’s be honest – drawing a plain pumpkin can get a little… boring. Add a face, though, and suddenly your artwork comes to life 🎃. Whether you want a cute, silly grin or a spooky jack-o’-lantern, a pumpkin face drawing is the perfect project for beginners.
The best part? You don’t need fancy tools or years of art practice. If you can hold a pencil, you can do this. Let’s dive into a fun, easy step-by-step guide that will get you saying, “Omg, this is so fun, I need to try this!”
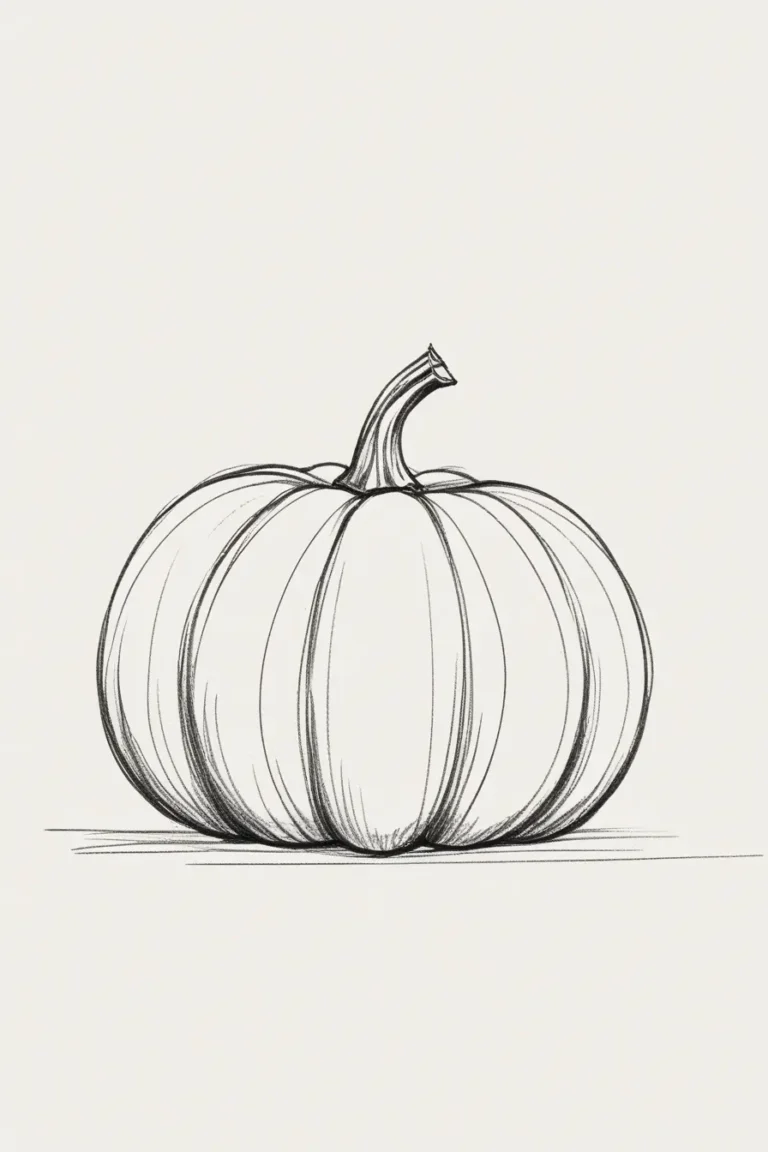
✏️ Step 1: Sketch a Simple Pumpkin Shape
Start by lightly drawing an oval or circle. Pumpkins aren’t perfect, so don’t worry if it’s a little lopsided – that makes it more natural!
- Add a few curved vertical lines inside your oval to create pumpkin “ridges.”
- Draw a small rectangle or curved shape on top for the stem.
👉 If you’re wondering how to draw a pumpkin that looks real: keep your lines round and soft, not straight. That instantly gives your pumpkin a more natural look.
😀 Step 2: Add the Pumpkin Face
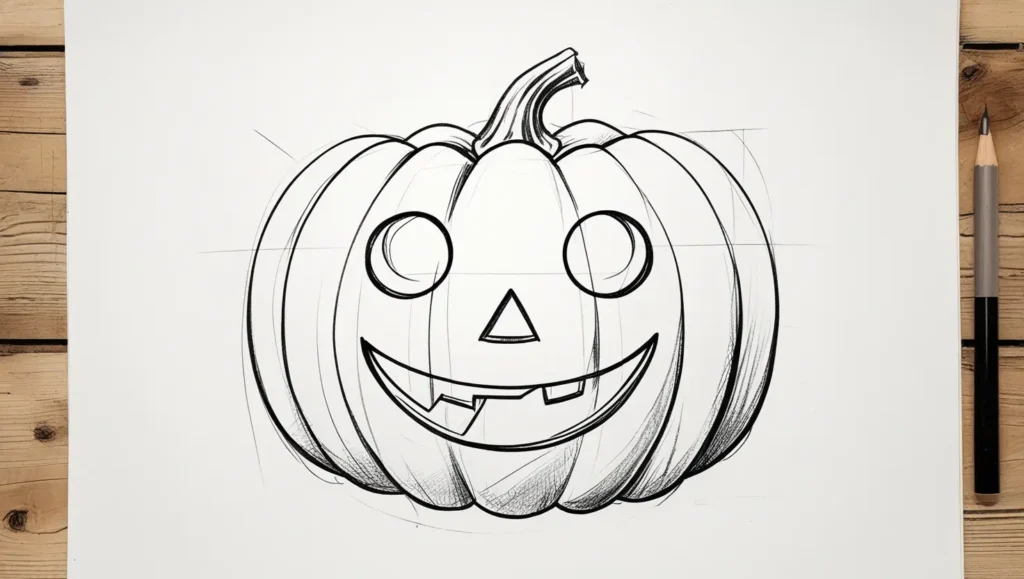
Here comes the fun part in pumpkin face drawing. Choose the style of face you want:
- Cute: big round eyes, a little smile.
- Spooky: triangle eyes, zigzag mouth, sharp teeth.
- Funny: one winking eye, tongue sticking out.
Lightly sketch the shapes. Don’t stress about perfection – pumpkins are meant to be playful.
✨ Pro tip: Look at classic jack-o’-lantern designs for inspiration, then mix and match, or draw a cute smiley face based on your wishes.
🎨 Step 3: Outline and Ink Your Drawing
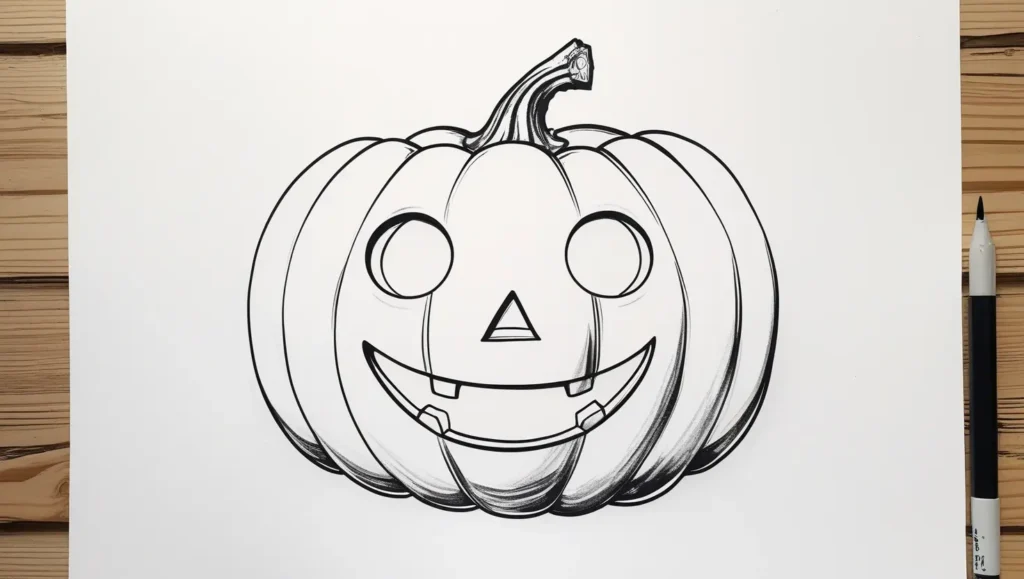
Once you’re happy with your sketch:
- Go over the lines with a black pen or marker.
- Make your face features bold so they pop.
- Erase the pencil marks once the ink is dry.
This simple step already makes your pumpkin look like a finished cartoon.
🌈 Step 4: Add Color and Bring It to Life
Now let’s paint or color!
- Use orange for the body.
- Use green or brown for the stem.
- Make the face features black for contrast.
If you’re wondering how to paint a pumpkin naturally:
- Blend two shades of orange (a darker tone in the ridges and a lighter tone in the middle). For more details on how to paint a pumpkin, what acrylic color to mix, and in what ratios, check our tutorial.
- Add a tiny highlight in white or yellow to make it look 3D.
👉 You can use colored pencils, markers, acrylics, or even watercolor. Anything works – it’s about having fun.
✨ Bonus Ideas for Your Pumpkin Face Drawing
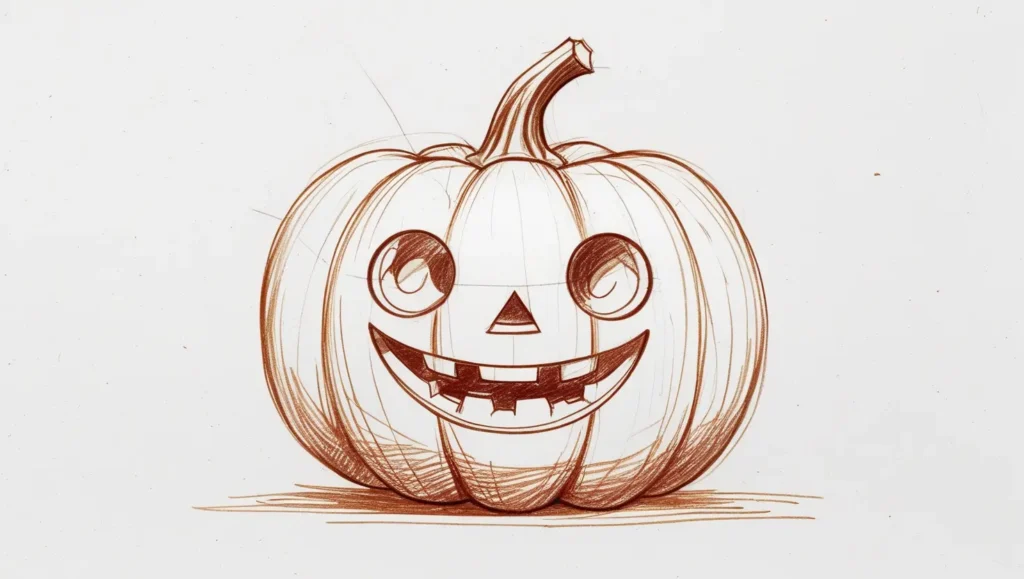
Want to take it further? Try these fun twists:
- Draw a pumpkin family with different faces.
- Create a full pumpkin patch scene.
- Try drawn-on pumpkin designs (like stars, hearts, or polka dots).
- Turn your drawing into a DIY Halloween card.
🍁 Final Thoughts
A pumpkin face drawing is one of the easiest and most fun seasonal art projects. It’s quick, beginner-friendly, and super customizable. By following these simple steps, you’ll end up with a drawing that’s not just a pumpkin – it’s full of personality.
So grab a pencil, pick your favorite face style, and get started. Once you finish your first one, you’ll be hooked. Trust me, you’ll be saying: “That was so fun, I need to draw another one!” 🎃