Dot art mistakes are not a sign that you’re “bad at art.”
They’re a sign that you’re learning — and honestly, every dot artist you admire has made all of these at least once.
If you’re new to dot art, dot mandala painting, or dot painting, this post will save you frustration, wasted supplies, and a few “why does this look wrong?” moments 😅
Let’s talk about where beginners mess up the most — and how to fix it fast.
🚨 1. Using Too Much Paint (The #1 Dot Art Mistake)
This is the classic beginner problem.
You dip your tool…
You touch the surface…
💥 Paint blob explosion.
Why it happens:
- Paint is too thick
- Tool is overloaded
- You’re pressing too hard
Fix it like a pro:
- Load your tool, then tap it once on a paper towel
- Let the paint sit on the surface — don’t stab it
- Slightly thin acrylics with water or pouring medium
✨ Remember: dot art loves controlled paint, not enthusiasm.
🎯 2. Pressing Too Hard (Dots Are Not Nails)
Dots don’t need pressure.
Pressure causes:
- Flat dots
- Paint spreading
- Uneven edges
Correct approach:
- Touch → pause → lift
- Same motion every time
- Let gravity do the work
Your dots should look like tiny pearls, not pancakes 🫧
🌀 3. No Planning = Crooked Mandala
In dot mandala painting, beginners often skip planning because:
“It’s just dots… how hard can it be?”
Answer: surprisingly hard 😄
This leads to:
- Uneven spacing
- Off-center designs
- Mandalas that “feel wrong”
✅ Easy fix:
- Lightly mark guidelines
- Use a center dot
- Work from the center outward
If you want a simple, beginner-friendly method for placing dots evenly, check out my step-by-step mandala dot placement guide.
🎨 4. Inconsistent Dot Sizes (AKA the Polka Dot Chaos)
Different sizes are great — when intentional.
Beginner mistake:
- Random tool switching
- Reloading paint too often
- Uneven pressure
How to fix it:
- Finish one color + size before changing
- Reload paint consistently
- Use size progression (big → medium → small)
Dot art looks calm when your dots follow a visual rhythm 🎵
🪨 5. Dot Art on Stones: Skipping Surface Prep
Painting stones is fun… until your dots slide off or crack later 😬
Common stone mistakes:
- Not washing the stone
- Painting on glossy or dusty surfaces
- Skipping base coat
Stone-saving tips:
- Wash and fully dry stones
- Apply acrylic base coat (white works best)
- Seal after painting, not before
Dots stick best to surfaces that are clean, matte, and prepped.
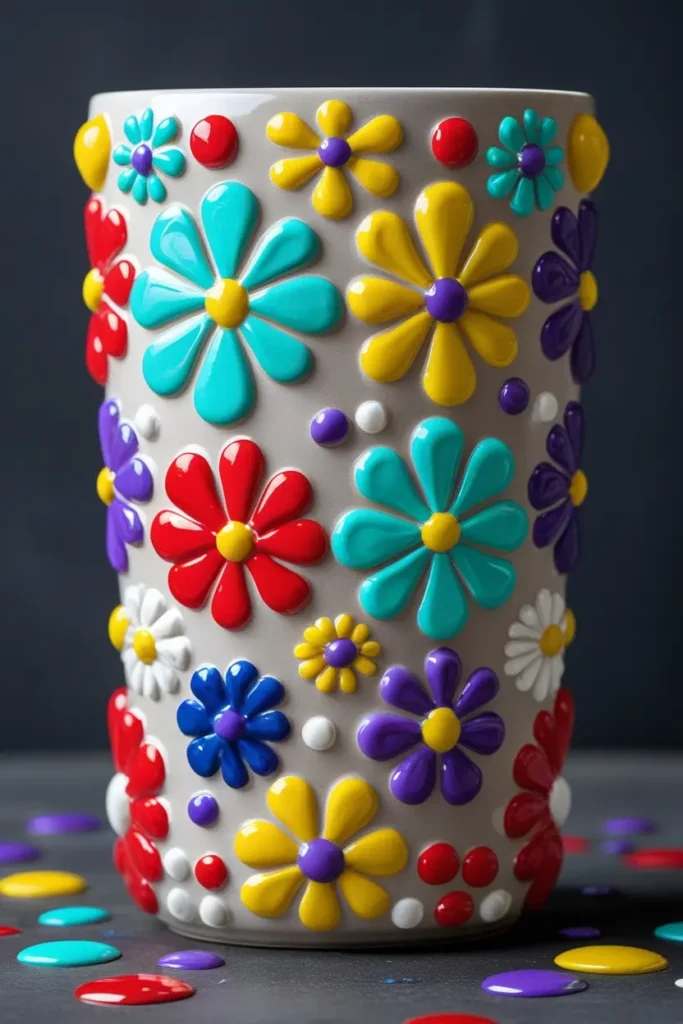
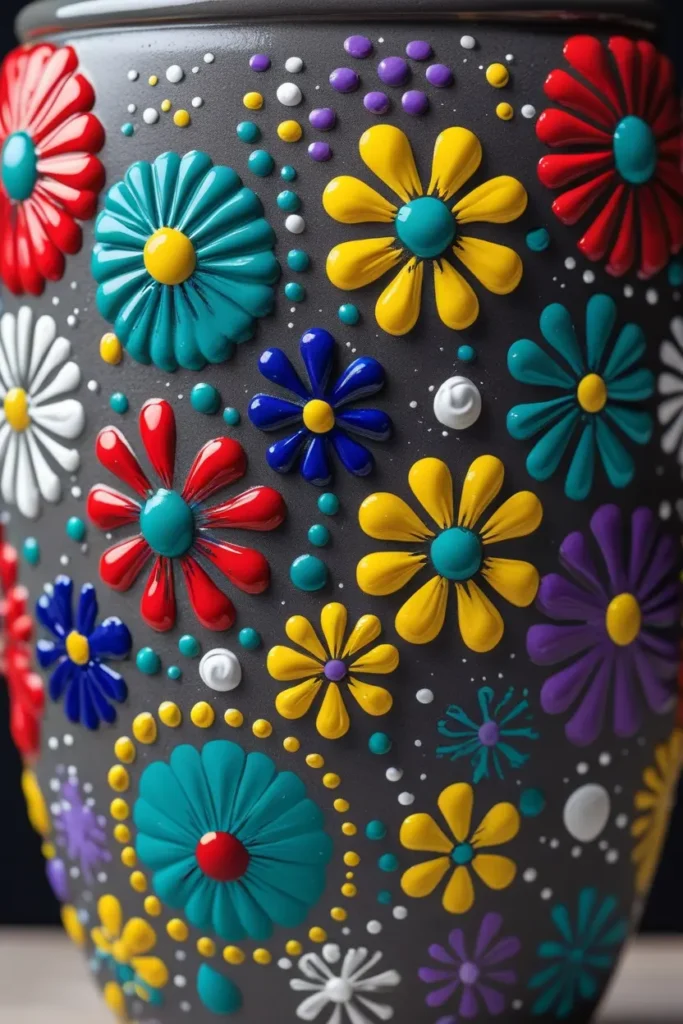
🏺 6. Dot Painting on Pottery: Ignoring Curves
Pottery is not flat.
Beginners treat it like canvas — big mistake.
What goes wrong:
- Dots stretch
- Mandalas look warped
- Paint runs downward
Fix for curved surfaces:
- Use thicker paint
- Work in smaller sections
- Rotate the piece, don’t chase the curve
Your hands stay steady — the pottery moves 🏺✨
🎭 7. Rushing the Process (Dot Art Punishes Speed)
Dot painting rewards patience.
Rushing causes:
- Smudges
- Color bleeding
- Misshapen dots
Slow down here:
- Let layers dry
- Step back and look
- Fix mistakes after drying, not during
Dot art is oddly therapeutic… if you let it be 🧘♀️
🔁 8. Not Sealing the Finished Piece
One of the most painful dot art mistakes:
You finish → love it → touch it later → smudge 😭
Always seal:
- Stones
- Pottery
- Canvas
- Decorative items
For smooth, long-lasting dots, many artists use acrylic pouring mediums like Liquitex to improve paint flow and durability.
💡 Final Thoughts: Mistakes Mean You’re Doing It Right
Every dot artist starts messy.
Every clean mandala comes from practice, not talent.
The goal isn’t perfection — it’s progress 💛
And now that you know the most common dot art mistakes, you’ll spot them faster… and fix them sooner.